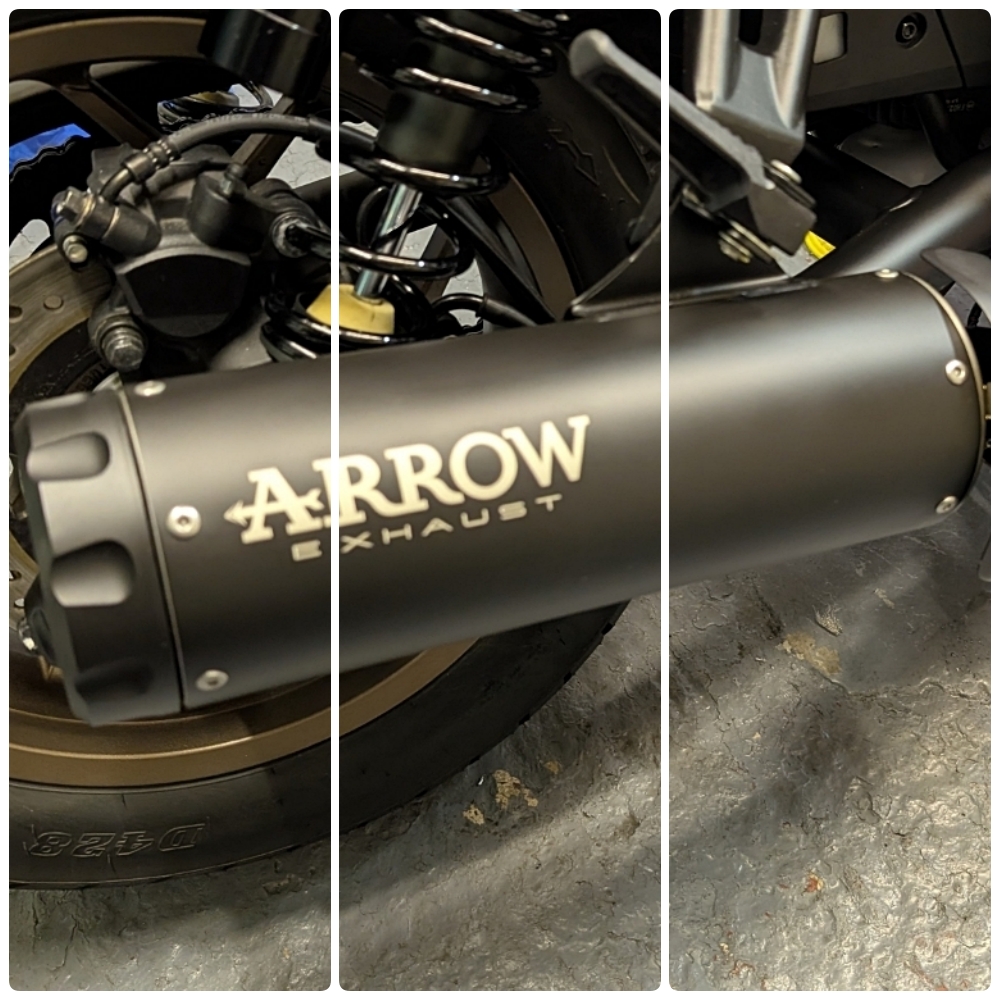
Honda CMX1100 Arrow exhaust – cleaner look and better sound
I’ve been more than happy with the Honda CMX 1100 DCT that I bought in February. Indeed, without the DCT option I don’t think I would have been back on a bike this year.
Since the June 2025 accident I just haven’t been up to or able to do my normal type of European trips. However I have been able to make a couple of excellent trips to Scotland.
You can read about the first of those Scottish trips at this link, and the second at this link.
Although I said I have been happy with the bike, it’s true to say I been less happy with the OEM exhaust silencer.
It didn’t take me long to decide it would have to go. Once that decision was made I began to look around for a suitable replacement.
After a good deal of web based research I decided to fit an arrow silencer on the CMX 1100.
Arrow end can – CMX 1100
Because the bike was new, I made sure I only considered a silencer that would have no impact on the warranty. I checked with the Honda dealer who confirmed that as long as the exhaust was a slip on, the warranty would not be affected. Time to order a replacement then.
Read on for more details.
Picture set one – OEM end can
 I appreciate beauty is in the eye of the beholder but this oversized can just doesn’t look good to my eye.
Apparently the silencer is so big as it is home to: expansion chambers; perforated tubes; packing; baffles and an acoustic chamber. Knowing why it’s so big doesn’t actually make it look any better.
It simply just had to go. Additionally, the pictures in this set show the original OEM silencer on the CMX..
Click any image to open the picture set and scroll through.


Picture set two – open the box.
Getting new bike parts always feels like Christmas Day. The Arrow silencer was waiting for me when I returned from the trip to Scotland.
 I ordered the exhaust from DR Bikes in the UK. I had clear communication and good service throughout; as a result, I would happily recommend them.
Next, click any image to open the picture set and then click or scroll through.


As a next step, picture set three shows removing the OEM silencer.
Consequently, removing the large OEM fitting was routine and straightforward. It involves removing the heat shield and a few small bolts, plus the rear exhaust hanger bolt. After loosening the front clamp I was able to slide the silencer off. However, clearing the factory fitted woven gasket between the mid‑pipe and the OEM silencer took a little time. As a result of removing the mesh the arrow can is a precise fit and doesn’t use a mesh gasket.
Have a look at the picture set below. Click any image to open the picture set and click or scroll through


Picture set four – and here’s how it looks and am I happy?
The Arrow end can went on fine, but still left me with a problem. The exhaust heat shield that cover’s the mid pipe section didn’t look great once it was back on.
Have a look at these pictures and see what you think. It’s just the too big and the wrong shape in my opinion.
I couldn’t help but think it was a real shame that Arrow didn’t include a simple replacement heat shield. All in all I was very happy with the silencer and think its a huge improvement over stock.. but that heat shield!
Click any image to open the picture set and click or scroll through


Fabricating a heat shield – the problem
In the first instance I bought a small heat shield from Amazon – it was difficult to tell from the advert if it would fit and look right.
It turned out to be the right idea but not the right size – so off it went back for refund.
There didn’t seem to be anything ‘off the shelf’ that would work. The Arrow silencer had been made to order, had I realised in advance I would have asked for the three lugs that are welded to the silencers pipe not to be fitted. Without them I’m pretty sure I could have used one of the ‘universal fit’ type of heat shields. Of course I could have cut them off but my nervousness at damaging a relatively expensive silencer put paid to that.
Fabricating a heat shield – my solution
I decided to have a go at making a heat shield and ended up buying a small piece of 1.5mm aluminium sheet, cutting to shape, drilling it and then spraying to match the silencer.
I’m very very happy with the finished result but like many things, I think I would make a better job if I was to do it again.
Have a look – what do you think?
Click any image to open the picture set and click or scroll through


Discover more from motorbikes.blog
Subscribe to get the latest posts sent to your email.
Nice fabrication Tony and I like your spray booth
Ha ha – it was the no expense spared model of spray booth